
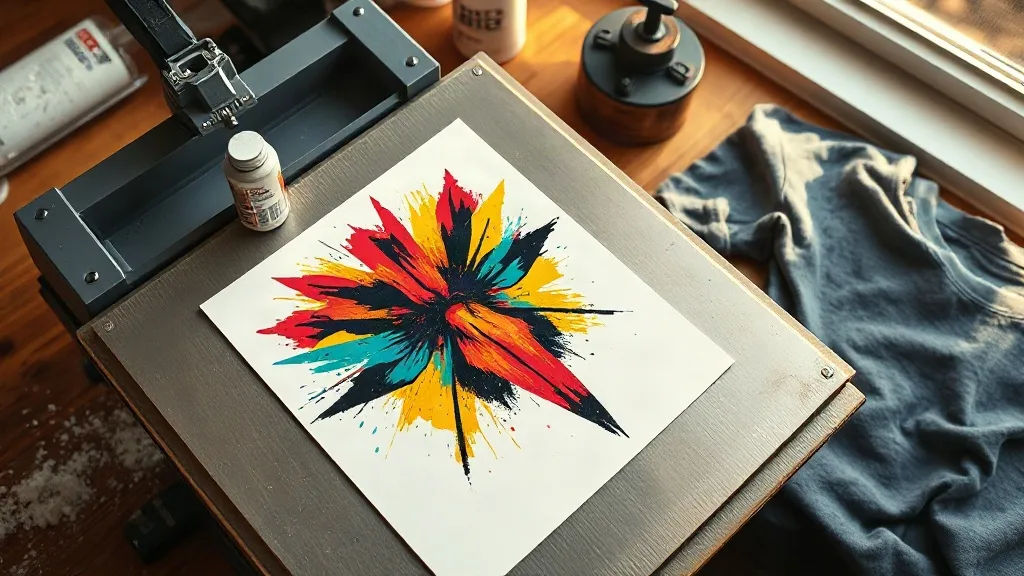
If you run a small print or apparel business, you have probably had a customer walk in with a photo, a gradient logo, or a design with eleven colors and ask for twenty shirts by Friday. Screen printing would eat the whole afternoon in setup. Vinyl would mean layering four sheets and praying nothing shifts. This is exactly the gap that dtf transfers filled, and it is why so many shops now keep a roll of film and a heat press within arm's reach of the counter.
I have spent enough time peeling film at the wrong temperature to have opinions about this process. Below is what actually happens behind the curtain, what it costs you in real time, and the details that separate a transfer that survives fifty washes from one that cracks on the second wear.
What DTF Actually Is, Without the Marketing Language
Direct-to-film is a printing method where a digital printer lays color onto a coated PET film, then applies a layer of hot-melt adhesive powder over the wet ink. The powder is cured, and what you hold afterward is a flexible sheet of pigment and glue that can be pressed onto fabric with a heat press. Nothing is printed directly onto the garment.
That last point matters more than it sounds. Because the ink never touches the shirt until you press it, dtf sidesteps most of the fabric preparation that other methods demand. No pre-treatment spray, no weeding tiny letters out of a vinyl sheet, no color separation math. You print, powder, cure, and press.
Why the Adhesive Powder Is the Whole Game
People obsess over ink and printers, but the powder layer is what determines durability. A properly powdered transfer has adhesive sitting on top of the ink, and when you press it, that adhesive sinks into the fabric fibers while the ink stays on the surface. Skip powder in one spot and you get a patch that peels within a week. Over-powder and the transfer feels stiff and glossy.
Most quality films want a light, even dusting. You should see the ink texture underneath, not a solid white blanket. Shake off the excess before curing, and brush rather than dump.
Fabric Compatibility: What Works and What Fights Back
One of the genuine advantages of this method is range. Here is a rough map from my own experience:
- Cotton and cotton blends: Reliable. Press settings are forgiving, and adhesion is strong.
- Polyester: Works well, but watch your press temperature. High heat on light polyester can cause dye migration, where the shirt's own color bleeds into the white ink layer.
- Nylon and treated synthetics: Doable but fussy. Some nylon jackets have water-repellent finishes that block adhesion entirely.
- Canvas and heavy twill: Good results if you raise pressure and add a couple of seconds to the press time.
- Mesh and open-weave fabrics: Problematic. The adhesive can push through to the other side.
If you are unsure about a garment, press a small test transfer somewhere hidden, like inside the hem. Ten seconds of testing saves an hour of redoing an order.
The Real Cost Conversation
Shops often compare DTF to screen printing on price per unit and conclude DTF is expensive. That comparison is incomplete. Screen printing has a setup cost per color per screen, which means it wins at volume and loses badly at small runs.
For a twenty-piece order with a full-color design, DTF is usually the cheaper and faster route. For a two-thousand-piece order in three spot colors, screen printing will beat it comfortably. The honest rule of thumb: below roughly fifty to seventy-five units, DTF is hard to argue with. Above a few hundred, run the numbers again.
There is also a labor cost people forget. DTF requires almost no skilled setup, which means a new employee can produce sellable output on day one. Screen printing requires a press operator who knows what they are doing. That staffing difference is real money.
Film and Powder Waste Adds Up
Nobody mentions the waste line in the pitch. You will throw away misprints, and you will lose film to jams. Build roughly ten percent waste into your pricing and you will not be surprised at month end. Nesting multiple designs onto one sheet before printing cuts that waste noticeably.
Press Settings That Actually Hold Up
Manufacturers publish temperature and time ranges, and they are a starting point, not gospel. Your press, your film, and your fabric all shift the sweet spot. A workable baseline for cotton:
- Press temperature around 150 to 160 degrees Celsius.
- Medium to firm pressure, enough that you can see the fabric weave through the film.
- Ten to fifteen seconds for the transfer.
- Peel cold or warm depending on the film, then a second press of five seconds with a cover sheet.
That second press is not optional. It settles the adhesive into the weave and dramatically improves wash durability. Skipping it is the single most common reason transfers fail early.
Watch the Pressure, Not Just the Heat
Too many shops chase temperature problems when the real issue is pressure. Light pressure means the adhesive never fully contacts the fibers. Uneven pressure means one corner lifts. If you see partial peeling on one side of a transfer, check your press platen for level before you touch the thermostat.
Where DTF Genuinely Struggles
This method is not universal, and pretending otherwise leads to disappointed customers.
- Very stretchy fabrics: The ink layer has limited stretch. On high-stretch spandex, expect cracking at the edges under movement.
- Garments washed at high heat: Repeated hot washes and hot tumble drying shorten the life of any transfer.
- Large solid white areas on dark shirts: These can feel heavy. The hand feel is thicker than screen printing, and some customers notice.
- Rush orders without a curing plan: Powder curing takes time. If you are printing and pressing in the same hour, you will rush the cure and pay for it later.
Being upfront about these limits builds more trust than promising a miracle. Customers respect a shop that tells them which method suits their garment.
Storage and Handling Details Nobody Mentions
Cured transfers keep well, but not anywhere. Store them flat or rolled loosely, away from humidity, and keep them out of direct sun. Film that has absorbed moisture from a damp back room will press unevenly and may bubble. If your shop runs humid, a sealed bin with a desiccant pack is cheap insurance.
Also label your sheets. Once a stack of transfers is sitting on a shelf, a black design and a navy design look identical under shop lighting. A marker and thirty seconds saves a mispress.
Frequently Asked Questions
How many washes should a DTF transfer survive?
With correct pressing, including the second cover-sheet press, most transfers hold up through thirty to fifty home washes on cotton. Washing inside out in cold water and avoiding high dryer heat extends that considerably. Failures in the first few washes almost always trace back to insufficient pressure or a skipped second press.
Can I use DTF on 100 percent polyester athletic wear?
Yes, with care. Lower your press temperature and shorten the dwell time to reduce dye migration risk, especially on light-colored polyester. Test on an inside hem first, and consider a lower-temperature film if you print polyester regularly.
Is DTF cheaper than screen printing for small orders?
Usually yes. Screen printing carries a per-color setup cost that dominates on runs under about fifty pieces. For full-color designs in small quantities, DTF typically wins on both price and turnaround. At higher volumes with limited colors, screen printing takes the lead.
Do I need a special printer for DTF?
You need a printer that can handle DTF film and white ink, plus a powder shaker and a curing oven or heat source. Many shops start by ordering pre-printed transfers from a supplier and pressing them in-house, which avoids the equipment investment entirely until volume justifies it.
Why is my transfer peeling at the corners?
Corner lift points to uneven pressure or a garment seam under the transfer. Repress the lifted area with a cover sheet, and check that your platen is level. If the garment has a thick seam, use a pressing pillow to raise the print area level.