
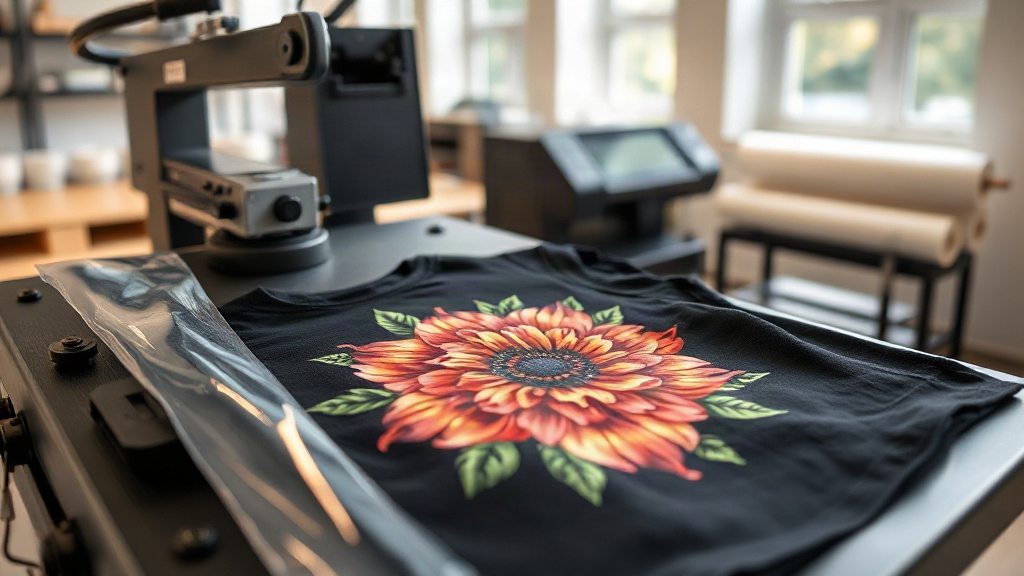
If you've ever wanted to wear your own artwork on a t-shirt or launch a print-on-demand brand, DTF printing might be the missing piece. Unlike traditional screen printing or vinyl, DTF (Direct to Film) lets you transfer full-color designs onto almost any fabric with remarkable detail. In this guide, I'll walk you through the entire process, from prepping your file to pressing the final shirt, and share the lessons I've learned from printing hundreds of garments in my home studio.
Whether you're a hobbyist or an aspiring entrepreneur, understanding DTF printing can open up new creative and business opportunities. Let's dive in.
What Exactly Is DTF Printing?
DTF printing is a digital printing method where your design is printed onto a special PET film using pigment-based inks. A powdered hot-melt adhesive is then applied to the wet ink, and the film is cured. To transfer the design, you place the film on your fabric and apply heat and pressure with a heat press. The adhesive melts into the fabric, and after peeling the film, your design remains vibrant and stretchable.
Unlike DTG (Direct to Garment), which prints directly onto the shirt, DTF allows you to print on a wide range of materials: cotton, polyester, blends, leather, canvas, and even some treated synthetics. This versatility is why many small shops are switching to DTF.
Why Choose DTF Over Other Printing Methods?
When I started my print-on-demand journey, I experimented with vinyl, screen printing, and DTG. Each has its place, but DTF stood out for several reasons:
- No color limitations: You can print gradients, photographs, and fine details without worrying about color separations.
- Fabric flexibility: It works on both natural and synthetic fabrics, including dark and light colors.
- Durability: When applied correctly, DTF transfers withstand dozens of washes without fading or cracking.
- Cost-effective for small batches: No setup fees or minimum orders, making it ideal for one-off custom pieces.
That said, DTF isn't perfect for every scenario. For very large orders of simple one-color designs, screen printing may still be cheaper. But for detailed, multicolor artwork, DTF is hard to beat.
Step-by-Step DTF Printing Process
Here's how I approach a DTF project from start to finish. You can replicate this workflow with a desktop DTF printer or by outsourcing the printing to a service.
1. Design Preparation
Start with a high-resolution image (300 DPI is ideal). If your design has a transparent background, ensure it's saved as a PNG. For DTF, you don't need to mirror the image; the printer software handles that. However, if you're using a transfer film that requires mirroring, double-check your printer's instructions.
Color management matters. Convert your design to CMYK or RGB depending on your printer's profile. I recommend printing a small test patch to check color accuracy before committing to a full sheet.
2. Printing onto Film
Load the PET film into your DTF printer. Ensure the coated side faces the print head. The printer lays down a layer of white ink first (if your design has white areas) followed by CMYK. Some printers also print a white base layer to make colors pop on dark fabrics.
After printing, the film comes out with a wet, tacky ink layer. Handle it carefully to avoid smudging.
3. Applying Adhesive Powder
While the ink is still wet, sprinkle hot-melt adhesive powder evenly over the design. Gently shake off the excess. You can use a powder shaker or a simple spoon, but consistency is key. Too much powder can lead to a rough texture; too little may cause poor adhesion.
4. Curing the Film
Place the powdered film in a curing oven or under a heat source at around 160°C (320°F) for 2-3 minutes. The powder should melt and become glossy. If you don't have an oven, you can use a heat press with the film sandwiched between two sheets of parchment paper, but be careful not to scorch the film.
Once cured, the film can be stored in a cool, dry place for weeks. This is a huge advantage for print-on-demand: you can print a batch and press as orders come in.
5. Heat Pressing onto Fabric
Set your heat press to 160°C (320°F) with medium pressure. Pre-press the garment for a few seconds to remove moisture. Place the DTF transfer on the fabric with the design facing up. Press for 10-15 seconds.
Let the transfer cool completely before peeling. If you peel while hot, the design may stretch or lift. For a matte finish, you can press again for a few seconds after peeling.
Common DTF Mistakes and How to Avoid Them
Even seasoned printers run into issues. Here are the most frequent problems I've encountered and how to fix them:
- Insufficient pressure: The design peels off after washing. Increase pressure and ensure your press is level.
- Too much powder: The print feels gritty and looks dull. Use a fine powder and shake off excess thoroughly.
- Uneven curing: The adhesive doesn't melt fully, leading to weak bond. Use a timer and check that the film looks glossy.
- Color shifting: The printed colors look different from your screen. Calibrate your monitor and use ICC profiles.
I also recommend keeping a log of your settings for each fabric type. What works for 100% cotton may not work for a 50/50 blend.
DTF for Print on Demand: A Match Made in Heaven
If you're running a print-on-demand store, DTF offers a level of quality that customers notice. The prints are soft, stretchy, and hold up well over time. Plus, you can offer a wider range of products: tote bags, hoodies, leggings, and even canvas shoes.
From a business perspective, DTF lowers your risk. You don't need to invest in expensive screen setups or minimum orders. You can print one-off designs and test new ideas without inventory. Many of my clients started with a single DTF printer and grew into full-scale apparel brands.
Frequently Asked Questions About DTF Printing
How long do DTF prints last?
With proper application and care, DTF prints can last 50+ washes. Turn the garment inside out and wash in cold water to maximize longevity.
Can I use DTF on 100% polyester?
Yes, DTF works on polyester, but you need to lower the pressing temperature to around 140°C (285°F) to avoid scorching or dye migration. Always test on a scrap piece first.
Do I need a special printer for DTF?
You can convert an Epson printer with DTF ink and a RIP software, or buy a dedicated DTF printer. For beginners, a dedicated printer is more reliable but costs more upfront.
What fabrics can I print on with DTF?
DTF adheres to cotton, polyester, blends, leather, canvas, and more. It's not recommended for nylon or waterproof fabrics without special treatment.
Is DTF printing safe for home use?
Yes, with proper ventilation. The inks and powders are generally safe, but you should avoid inhaling the powder and use a mask when handling it. Curing ovens should be used in a well-ventilated area.