
Custom apparel has never been more accessible, thanks to DTF transfers. Whether you're a small business owner looking to create branded merchandise or a DIY enthusiast wanting to personalize gifts, DTF transfers provide a versatile and cost-effective solution. Unlike traditional screen printing or vinyl cutting, DTF transfers allow you to print full-color designs on a wide range of fabrics with minimal setup. In this guide, we'll explore everything you need to know about DTF transfers, from the science behind them to practical application tips, so you can achieve professional results every time.
What Are DTF Transfers?
DTF stands for Direct-to-Film. It's a printing technology where your design is printed onto a special PET film using water-based pigments, then coated with a hot-melt adhesive powder. Once the powder is cured, the transfer is ready to be applied to fabric using a heat press. The result is a soft, stretchable, and durable print that bonds permanently to the material.
The magic of DTF lies in its simplicity and versatility. Because the design sits on a transfer film, you can apply it to almost any fabric: cotton, polyester, blends, even nylon and leather. This opens up possibilities that were previously limited to specific materials or required multiple steps.
How DTF Transfers Differ from Other Methods
Compared to screen printing, DTF requires no screens, no color separation, and no minimum order. You can print one-off designs or large batches with the same ease. Unlike vinyl, DTF doesn't require weeding, which saves hours of tedious work. And unlike sublimation, DTF works on dark and light fabrics, and on cotton, which sublimation cannot penetrate.
These advantages make DTF transfers a favorite among crafters and professionals alike. But to get the best results, you need to understand the nuances of the process.
The DTF Printing Process Step by Step
Understanding how DTF transfers are made helps you troubleshoot issues and optimize your workflow. Here's a breakdown of the key stages:
1. Design Preparation
Start with a high-resolution image. DTF printers can reproduce fine details, but low-quality images will still look pixelated. Use CMYK color mode and ensure your design has transparent background if needed. The printer will lay down a white ink layer behind the color, so you don't need to worry about the fabric color showing through.
2. Printing
The design is printed onto a PET film. The printer first lays down the white ink base, then the CMYK colors on top. This order is crucial because the white ink provides opacity and vibrancy. After printing, the film is dusted with adhesive powder.
3. Powder Application and Curing
The adhesive powder is sprinkled over the wet ink. You then shake off the excess and cure the film under heat, typically around 160°C (320°F) for a few minutes. This melts the powder into a smooth, tacky layer that will bond with the fabric.
4. Transfer Application
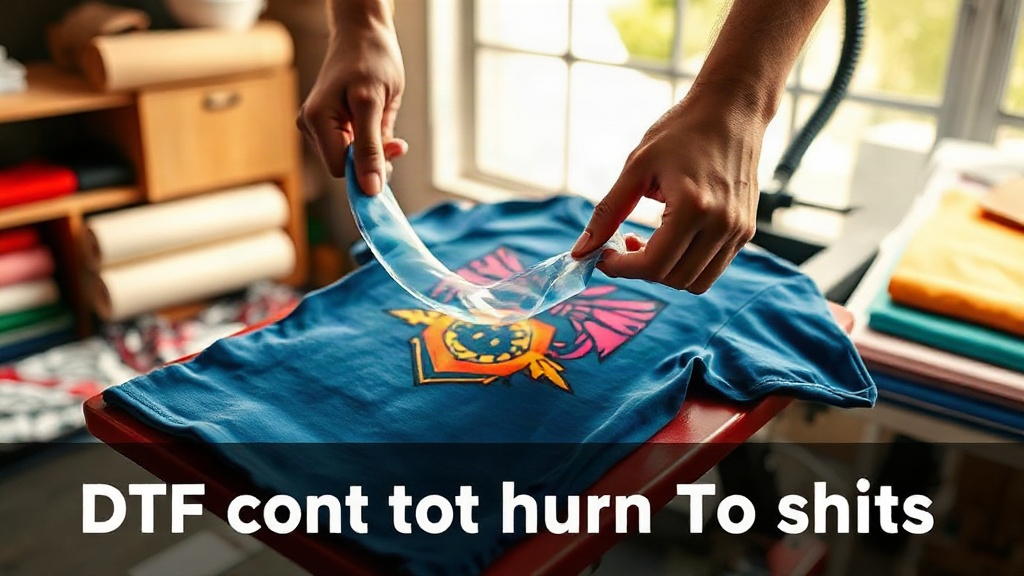
To apply, you place the transfer face-down on the fabric and press it with a heat press at 150-160°C (300-320°F) for 10-15 seconds. After pressing, you peel the film off while it's still hot (hot peel) or after it cools (cold peel), depending on the film type. The result is a vibrant, wash-resistant print.
Why Choose DTF Transfers for Your Custom Apparel?
There are several compelling reasons to incorporate DTF transfers into your custom apparel projects:
- Unmatched versatility: Works on cotton, polyester, blends, and even treated nylon and leather.
- No color limitations: Print full-color, photorealistic designs without extra cost.
- Durability: Prints withstand repeated washing without cracking or fading.
- Cost-effective for small batches: No minimums, no screens, no setup fees.
- Soft feel: The adhesive layer is thin, so the print doesn't feel rubbery.
Whether you're making team jerseys, promotional t-shirts, or personalized tote bags, DTF transfers deliver professional-looking results with minimal equipment.
Applications of DTF Transfers
The uses for DTF transfers go beyond t-shirts. Here are some creative ways to apply them:
- Sportswear and activewear: The stretchability of DTF prints makes them ideal for jerseys and leggings.
- Corporate uniforms: Add logos to polos, aprons, and caps with ease.
- Fashion apparel: Create custom denim jackets, hoodies, and dresses with intricate designs.
- Home decor: Personalize pillowcases, curtains, and even canvas shoes.
- Promotional items: Brand tote bags, mousepads, and more.
Because DTF transfers adhere to so many surfaces, your creativity is the only limit.
How to Apply DTF Transfers: Best Practices
To ensure your DTF transfers last, follow these expert tips:
- Pre-press the garment: Remove moisture and wrinkles by pressing for a few seconds before applying the transfer.
- Use the right temperature and pressure: Typically 150-160°C (300-320°F) with medium pressure. Too little heat and the adhesive won't activate; too much and the print may scorch.
- Peel correctly: Check whether your film is hot peel or cold peel. Peeling at the wrong temperature can cause the design to lift.
- Post-press for durability: After peeling, press again for 5-10 seconds with a cover sheet to fully embed the print.
- Wash inside out: To prolong the life of your DTF transfers, wash in cold water and tumble dry low.
By following these steps, you'll achieve vibrant, long-lasting results that rival professional printing.
Common Challenges and Solutions
Even with the best practices, you might encounter issues. Here's how to troubleshoot:
- Print cracking: Usually caused by under-curing the powder or insufficient pressure during transfer. Increase curing time or pressure.
- Poor adhesion: Ensure the fabric is clean and dry. Some fabrics like nylon require a special adhesive powder.
- Color fading: Use high-quality inks and avoid over-washing at high temperatures.
- Film residue: If film sticks to the print, you may be peeling at the wrong temperature. Try cold peel if hot peel leaves residue.
With a bit of experimentation, you'll master the variables and produce flawless transfers.
DTF Transfers vs. Other Printing Methods
How does DTF stack up against alternatives? Let's compare:
- Screen Printing: DTF wins for small batches and complex designs; screen printing is more cost-effective for large runs of simple designs.
- Heat Transfer Vinyl (HTV): DTF allows full-color, detailed prints without weeding; HTV is limited to solid colors and simple shapes.
- Sublimation: DTF works on cotton and dark fabrics; sublimation only works on light polyester.
- Direct-to-Garment (DTG): DTF offers better durability and stretchability; DTG is limited to cotton and requires pre-treatment.
For many custom apparel businesses, DTF transfers offer the best balance of quality, versatility, and cost.
Frequently Asked Questions About DTF Transfers
How long do DTF transfers last?
When applied correctly, DTF transfers can last 50+ washes without significant fading or cracking. Proper washing (inside out, cold water) extends their life further.
Can I use DTF transfers on 100% cotton?
Absolutely. DTF transfers work on cotton, polyester, blends, and many other fabrics. The adhesive bonds well to natural and synthetic fibers alike.
Do I need a special printer for DTF transfers?
Yes, you need a DTF printer that uses DTF inks and can handle PET film. However, you can also buy pre-printed DTF transfers from suppliers if you don't want to invest in a printer.
What is the difference between hot peel and cold peel DTF film?
Hot peel film is peeled immediately after pressing while still hot, which is faster but requires quick action. Cold peel film is allowed to cool completely before peeling, which can be more forgiving for beginners.
Can I layer DTF transfers?
Yes, you can layer multiple DTF transfers to create multi-color designs, but it's best to use a single transfer with all colors printed together for a softer feel.